


Wall Moulding Installation: From Initial Design to a Beautiful Finished Interior
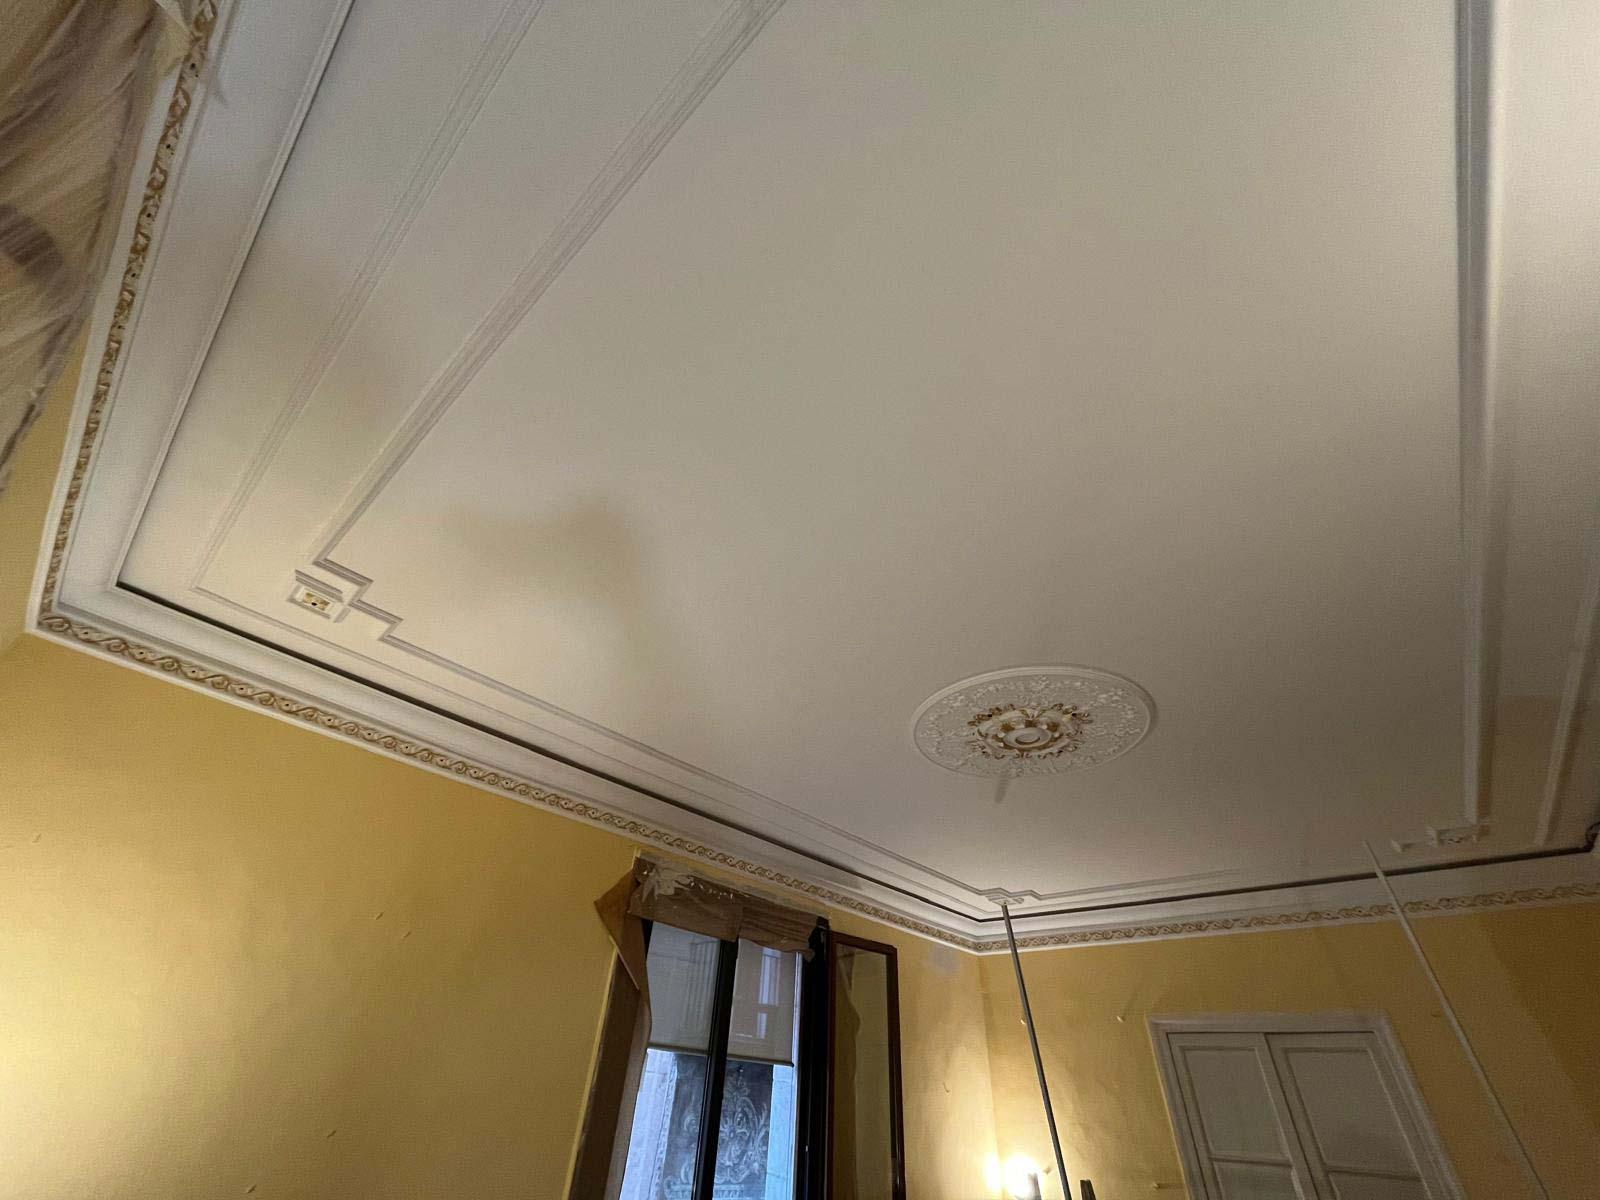
A successful interior transformation does not always require extensive construction or expensive structural changes. Sometimes, carefully selected architectural details can make the greatest difference. Wall moulding is one such detail. It adds definition to flat surfaces, introduces visual rhythm, and can give an interior a more sophisticated character.
However, attractive moulding is not simply about attaching decorative strips to a wall. The finished appearance depends on design decisions, accurate measurements, suitable materials, careful preparation, and precise workmanship. A well-executed Wall Moulding Installation brings all of these elements together to create a polished result.
Starting With the Character of the Room
Every room has its own proportions, purpose, and atmosphere. These factors should influence the moulding design from the beginning.
A formal living space may benefit from elegant framed panels, while a contemporary bedroom might suit a simpler geometric arrangement. An entrance area could use subtle moulding to add architectural interest without taking attention away from other features.
The existing décor should also be considered. Furniture, flooring, lighting, doors, and windows all form part of the visual composition. Moulding should complement these elements rather than appear disconnected from them.
Creating a Layout Before Cutting Materials
One of the most important stages of a moulding project happens before installation begins. A detailed layout helps determine exactly where each piece will be positioned.
Measurements should account for the full width and height of the wall. The intended spacing between panels needs to remain consistent, and the design should be centered where appropriate.
Marking the proposed layout can reveal problems before materials are cut. It may show that a particular panel would interfere with a light switch or that a planned arrangement does not work well around a doorway.
This planning stage reduces unnecessary adjustments and makes the installation process considerably more efficient.
Selecting Profiles That Suit the Space
Moulding profiles range from extremely simple strips to more decorative designs. Choosing between them depends on the character the room is intended to have.
Minimal profiles can produce clean lines and work particularly well with modern interiors. More detailed profiles can provide a traditional decorative effect and may be appropriate where the surrounding architecture already contains ornamental elements.
Scale matters just as much as style. A moulding profile should be large enough to remain visible but not so dominant that it overwhelms the wall.
The right choice creates a relationship between the moulding and the room rather than making the decorative feature look isolated.
Preparing Walls for Installation
Even the most carefully designed moulding can look poor if it is installed on an unsuitable surface. Before work begins, the wall should be inspected and prepared.
Dust, loose paint, grease, cracks, and significant uneven areas can interfere with adhesion and finishing. Minor imperfections may need to be repaired, while badly damaged surfaces may require more extensive preparation.
A clean, stable surface provides a better foundation for the moulding and helps achieve more reliable results. Taking time with preparation can prevent problems from becoming visible after the final coat of paint has been applied.
The Importance of Accurate Cutting
Cutting is one of the most technical parts of the installation process. Individual moulding sections must be measured precisely so they fit the planned design.
Corners require particular attention. When two pieces meet, the joint should be clean and properly aligned. Even a small cutting error can create a noticeable gap, especially when the moulding is painted in a contrasting finish.
Experienced installation techniques help maintain consistency from one section to the next. This is particularly important when a wall contains multiple frames or repeating patterns.
Finishing the Moulding Professionally
Installation does not end when the moulding has been attached. The finishing stage can determine how refined the completed project looks.
Joints and fixing points may need to be filled and smoothed. Any visible imperfections should be addressed before priming and painting.
The final color can either blend the moulding into the wall or make it stand out as a decorative feature. Matching the wall and moulding can create a subtle architectural effect, while a contrasting finish can emphasize the panel design more strongly.
The choice should reflect the intended atmosphere of the room.
Adding Dimension With Complementary Features
Wall moulding can be used alongside other architectural finishes to create a more complete design. Skirting boards can provide a visual connection between the wall and floor, while cornices can frame the upper edge of the room.
For a more contemporary appearance, three-dimensional wall panels can introduce texture and depth to selected areas. These can be particularly effective when used as focal features rather than covering every wall.
Lighting is another useful addition. LED coving can provide indirect illumination near the ceiling, creating a soft layer of light that enhances the room's architectural details.
When these elements are planned together, each feature can support the others.
Maintenance and Long-Term Appearance
Quality moulding should not only look good immediately after installation; it should remain easy to maintain over time. Smooth, well-finished surfaces are generally easier to clean and repaint when necessary.
Regular dusting can help preserve the appearance of decorative profiles. In areas that receive frequent contact, selecting durable materials and finishes can also help reduce signs of wear.
If the room is redecorated later, moulding provides another advantage: it can often be repainted to coordinate with a new color scheme without requiring the entire feature to be replaced.
Why Professional Workmanship Matters
A visually impressive moulding design can lose much of its impact if installation is rushed or inaccurate. Uneven spacing, misaligned corners, poorly finished joints, and inconsistent lines can all affect the final appearance.
Professional Wall Moulding Installation brings together careful planning and practical expertise. From measuring the wall and selecting appropriate profiles to cutting, fixing, filling, and finishing, each stage contributes to the final result.
The objective is not simply to add decoration but to create architectural detail that feels naturally integrated into the room.
A Refined Finish Through Thoughtful Detail
Wall moulding demonstrates how relatively small architectural additions can influence an entire interior. With the right design, a plain wall can become a structured feature that adds elegance, depth, and personality.
The best results come from treating the installation as a complete design process rather than a simple decorative task. Careful planning, suitable materials, accurate workmanship, and a well-considered finish can turn moulding into a lasting part of the interior.
- Digital Agency
- Literie
- Location de voitures
- Restaurant
- Restaurant
- Mode
- Mode
- Information
- Marketing
- Tourisme
- Développement
- Découverte
- Législation
- Gastronomie
- Pâtisserie
- Eveniment
- Art
- Causes
- Crafts
- Dance
- Drinks
- Film
- Fitness
- Food
- Jocuri
- Gardening
- Health
- Acasă
- Literature
- Music
- Networking
- Alte
- Party
- Religion
- Shopping
- Sports
- Theater
- Wellness
 Romaian
 Indian
 English
 French
 Arabic
 Spanish
 Portuguese
 Deutsch
 Turkish
 Dutch
Dutch
 Italiano
 Russian
 Portuguese (Brazil)
 Greek
Greek