


DIY Chocolate Tempering at Home: Step-by-Step Methods for Beginners
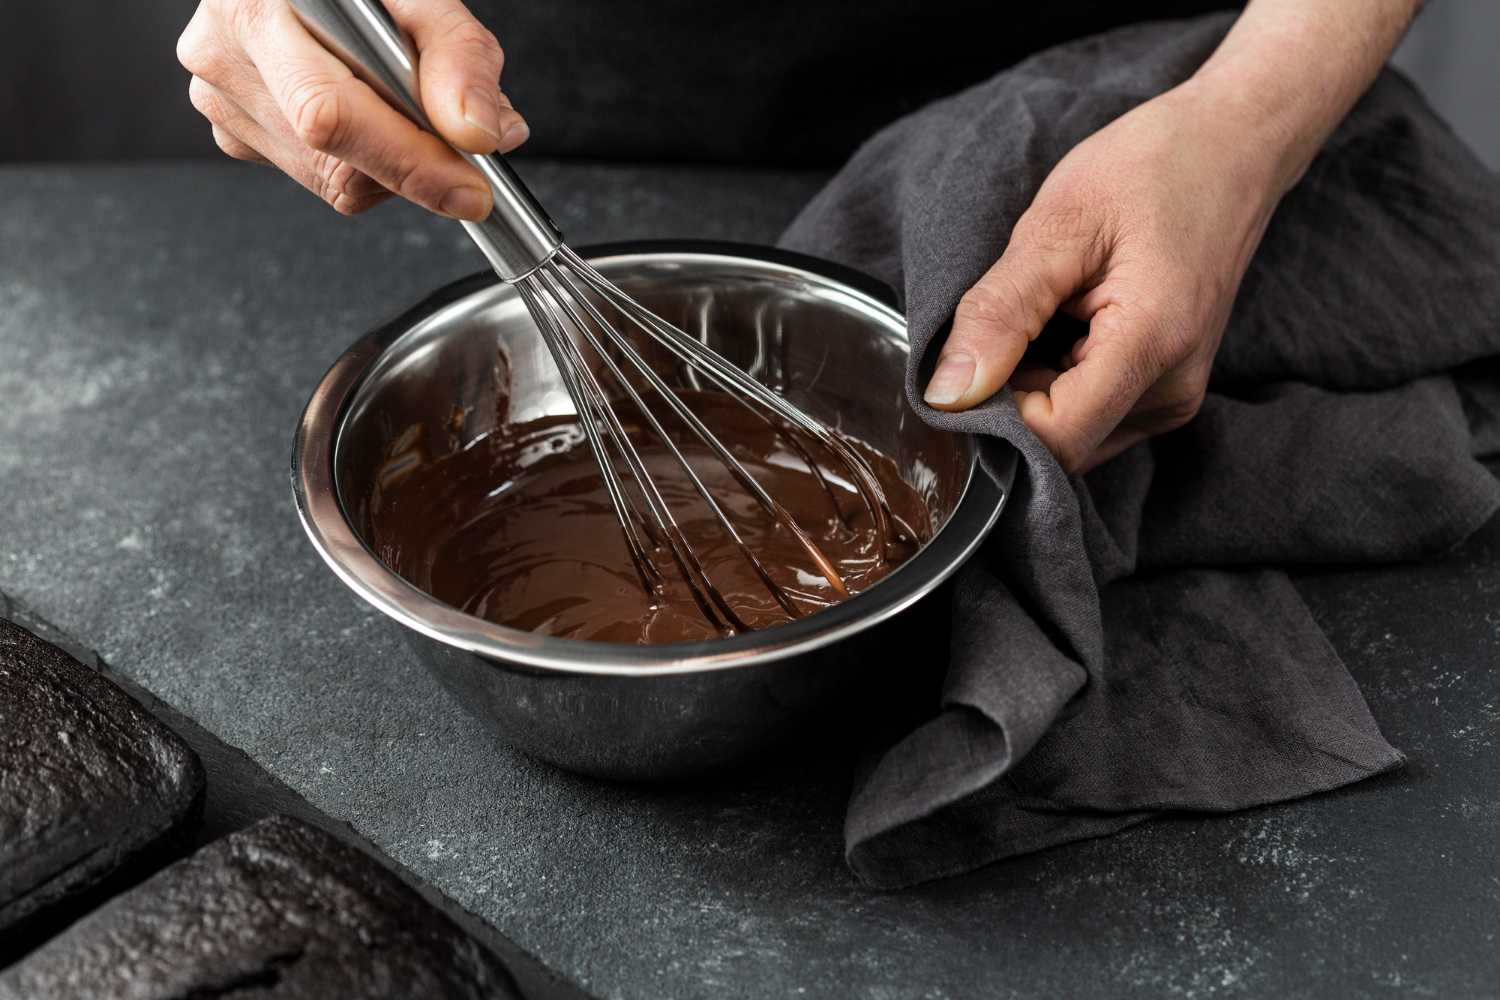
Tempering chocolate at home may sound like a professional skill reserved for expert chocolatiers, but with the right guidance, it’s something anyone can master. Whether you’re making glossy chocolate bars, perfectly coated truffles, or decorative treats, understanding chocolate tempering is essential. Proper tempering ensures your chocolate has a smooth texture, a shiny finish, and that satisfying snap when you break it.
In this beginner-friendly guide, we’ll walk you through simple, step-by-step techniques and explain the most effective chocolate tempering methods you can try in your own kitchen.
What Is Chocolate Tempering and Why Does It Matter?
Chocolate contains cocoa butter, which can crystallize in several different forms. When melted chocolate cools without control, it often results in a dull appearance, soft texture, and white streaks known as bloom. Tempering is the process of heating and cooling chocolate in a controlled way to stabilize these crystals.
Properly tempered chocolate offers:
-
A glossy, professional finish
-
A firm texture with a clean snap
-
Resistance to melting at room temperature
-
Better mold release for shaped chocolates
Tools You’ll Need
Before you begin, gather a few basic tools:
-
High-quality chocolate (couverture preferred)
-
Heatproof bowl
-
Saucepan (for double boiler method)
-
Thermometer (digital or infrared)
-
Spatula
-
Marble slab (optional for advanced method)
Method 1: The Double Boiler (Seeding Method)
This is one of the easiest chocolate tempering methods for beginners.
Step-by-Step Instructions:
-
Chop the Chocolate
Finely chop your chocolate into small, even pieces. Set aside about one-third separately. -
Melt Two-Thirds of the Chocolate
Place two-thirds of the chocolate in a heatproof bowl over a saucepan of simmering water (make sure the bowl doesn’t touch the water). Stir gently until fully melted.
-
Dark chocolate: heat to around 45–50°C
-
Milk/white chocolate: heat to 40–45°C
Cool with Seed Chocolate
Remove from heat and gradually add the remaining chopped chocolate. Stir continuously to bring down the temperature. This step introduces stable crystals.
Reach Working Temperature
Cool the chocolate to:
-
Dark: 31–32°C
-
Milk: 29–30°C
-
White: 28–29°C
Test the Temper
Dip a spoon or knife into the chocolate and let it sit at room temperature. If it sets within 3–5 minutes with a glossy finish, it’s ready to use.
Method 2: Microwave Tempering
If you don’t have a double boiler, the microwave method is quick and convenient.
Step-by-Step Instructions:
-
Chop and Place in Microwave-Safe Bowl
Use small, uniform pieces for even melting. -
Heat in Short Intervals
Microwave at 50% power in 20–30 second intervals. Stir after each round to prevent overheating. -
Monitor Temperature Closely
Stop heating once the chocolate is mostly melted, leaving a few small chunks. -
Stir to Melt Completely
The residual heat will melt the remaining chocolate while bringing it into temper. -
Check Consistency
Ensure the chocolate reaches the correct working temperature before using.
This method is ideal for beginners because it requires minimal equipment and is easy to control with practice.
Method 3: Tabling Method (Advanced DIY Technique)
This traditional technique is often used by professionals but can be attempted at home if you’re feeling confident.
Step-by-Step Instructions:
-
Melt the Chocolate Fully
Heat all the chocolate to its melting temperature. -
Pour Two-Thirds onto a Marble Surface
Spread and move the chocolate around using a spatula. -
Cool and Thicken
Continue working the chocolate until it thickens and cools to about 27°C. -
Recombine with Warm Chocolate
Add it back to the remaining warm chocolate and mix thoroughly. -
Adjust to Working Temperature
Gently reheat if needed to reach the ideal range.
This method requires practice but gives excellent results once mastered.
Using Tempered Cocoa Butter for Easier Results
For beginners looking for a shortcut, using tempered cocoa butter (often available in powdered or silk form) can simplify the process.
Instead of manually creating stable crystals, you can:
-
Melt your chocolate fully
-
Add a small amount of cocoa butter crystals
-
Stir until evenly distributed
This helps seed the chocolate instantly, reducing the need for precise temperature control. It’s a great option if you want consistent results with less effort.
Common Mistakes to Avoid
Even with simple methods, a few mistakes can ruin your temper:
-
Overheating the chocolate: This destroys the crystal structure
-
Water contact: Even a drop can cause chocolate to seize
-
Skipping temperature checks: Precision matters
-
Not stirring enough: Proper mixing ensures even crystallization
Tips for Perfect Results Every Time
-
Always use high-quality chocolate with good cocoa butter content
-
Work in a cool, dry environment (around 18–22°C is ideal)
-
Keep your tools completely dry
-
Reheat gently if chocolate thickens too much during use
Final Thoughts
Learning chocolate tempering at home is a rewarding skill that elevates your homemade treats from simple to professional-quality. While it may seem technical at first, starting with beginner-friendly chocolate tempering methods like the seeding or microwave technique can make the process approachable and enjoyable.
As you gain confidence, you can experiment with more advanced techniques or incorporate tools like tempered cocoa butter for greater consistency. With patience and practice, you’ll soon be creating beautifully finished chocolates right from your kitchen.
- Digital Agency
- Literie
- Location de voitures
- Restaurant
- Restaurant
- Mode
- Mode
- Information
- Marketing
- Tourisme
- Développement
- Découverte
- Législation
- Gastronomie
- Pâtisserie
- Evento
- Art
- Causes
- Crafts
- Dance
- Drinks
- Film
- Fitness
- Food
- Giochi
- Gardening
- Health
- Home
- Literature
- Music
- Networking
- Altre informazioni
- Party
- Religion
- Shopping
- Sports
- Theater
- Wellness
 Italiano
 Indian
 English
 French
 Arabic
 Spanish
 Portuguese
 Deutsch
 Turkish
 Dutch
Dutch
 Russian
 Romaian
 Portuguese (Brazil)
 Greek
Greek