

How to Dry Out a Water-Damaged Home Before Mold Starts
The clock is ticking the moment water enters your living space. Whether it’s a burst pipe, a leaking roof, or a flash flood, the moisture begins to compromise your home’s structural integrity immediately. If you are seeking Water Damage Restoration King George, VA, you already know that speed is your greatest ally. Mold spores can begin to colonize in as little as 24 to 48 hours, making the drying process a race against biology.
At Clearview Water Damage, we understand that homeowners often feel overwhelmed by the sheer volume of water. However, understanding the physics of evaporation and dehumidification can help you stabilize the environment while waiting for professional help. Proper drying isn't just about getting rid of standing puddles; it’s about pulling moisture out of porous materials like drywall, subflooring, and insulation.
Step 1: Immediate Extraction and Safety
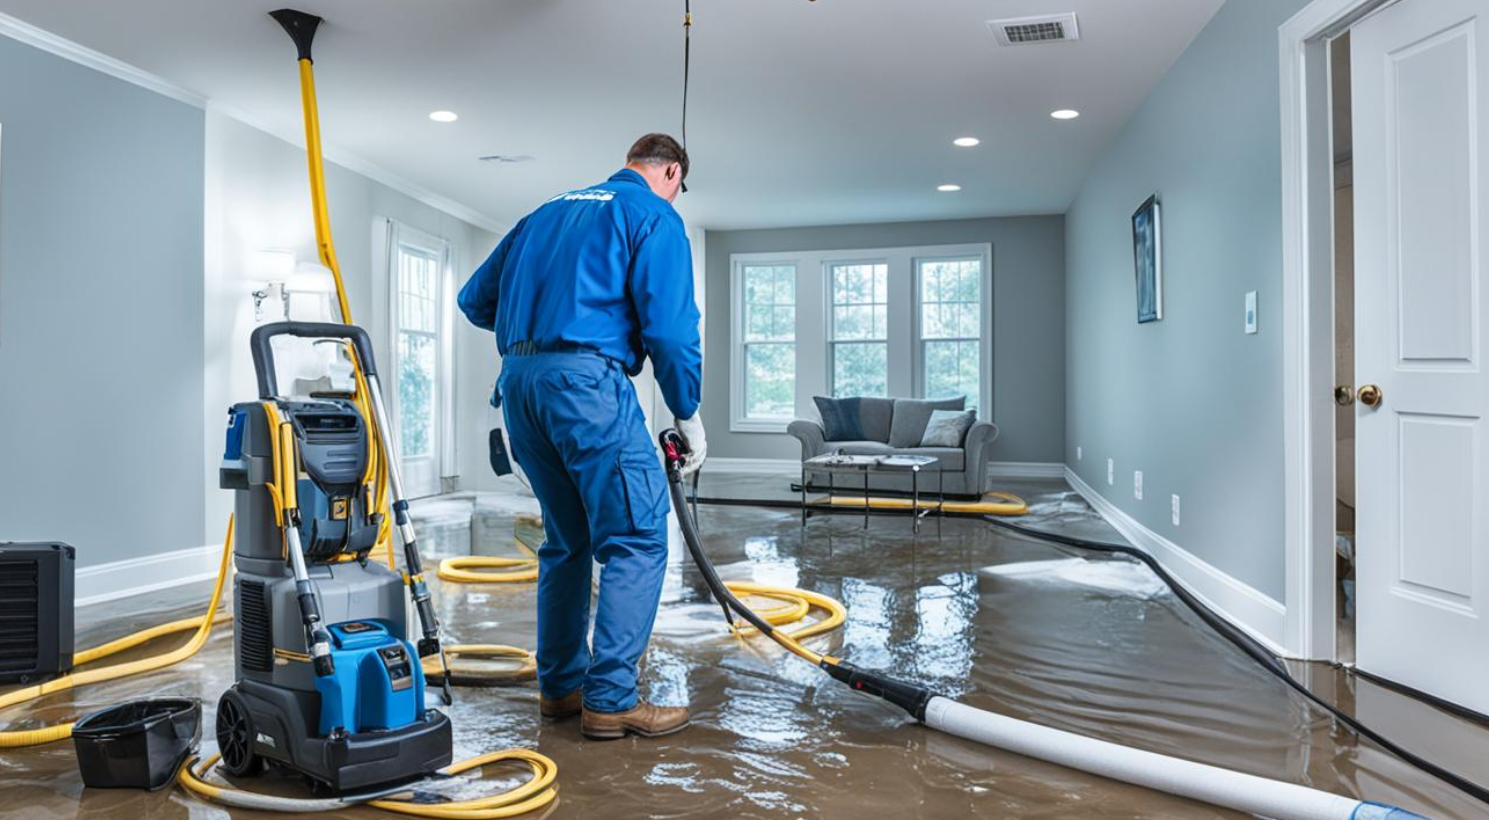
Before you can dry the air, you must remove the bulk of the liquid. Standing water acts as a reservoir, constantly feeding humidity back into the room.
- Prioritize Safety: Always turn off the electricity to affected areas at the breaker box. Never enter a room with standing water if the power is still on.
- The Extraction Process: Use a wet/dry vacuum to suck up as much water as possible from carpets and hard floors. For large-scale flooding, professional-grade submersible pumps are often necessary to prevent the water from seeping into the foundation.
- Remove Saturated Items: Take wet rugs, pillows, and furniture outside. These items hold massive amounts of moisture and will significantly slow down the drying time of the actual structure.
Step 2: Strategic Airflow and Ventilation
Once the standing water is gone, the next phase of Water Damage Restoration King George, VA, involves manipulating the "Dry Standard." This refers to the moisture level of materials in a normal, dry state.
Using High-Velocity Air Movers
Standard household fans are rarely enough to dry deep into wall cavities. Professional restoration teams use high-velocity air movers that create a "vortex" effect across surfaces. This high-speed air breaks the "boundary layer" of saturated air sitting on top of wet materials, allowing for faster evaporation.
When to Open Windows
If the humidity outside is lower than inside, opening windows can create a natural cross-breeze. However, if it is raining or particularly humid in Virginia, keep the windows shut and rely on your HVAC system or portable dehumidifiers to pull moisture from the air.
Step 3: Controlling the Environment with Dehumidification
Evaporation is only half the battle. If you turn on fans without a way to remove the moisture from the air, you simply create a "sauna" effect. This high humidity is exactly what triggers rapid mold growth.
- LGR Dehumidifiers: Professionals often use Low Grain Refrigerant (LGR) dehumidifiers. These are far more powerful than the units found in hardware stores; they are designed to pull gallons of water out of the air daily, even in very low-humidity environments.
- Closed Drying System: For the best results, seal off the affected room with plastic sheeting. This allows the dehumidifier to focus solely on the moisture in that specific area rather than trying to dry the whole house.
Step 4: Inspecting Hidden Pockets of Moisture
One of the biggest mistakes homeowners make is assuming a wall is dry because it feels dry to the touch. Water often hides behind baseboards, under laminate flooring, and inside wall insulation.
Critical Areas to Check:
- The Sill Plate: This is the bottom-most piece of wood in a wall frame. If it remains wet, it will eventually rot and provide a breeding ground for black mold.
- Drywall "Wicking": Drywall is like a sponge. Water can travel several inches or even feet upward from the floor. You may need to perform a "flood cut"—removing the bottom 12–18 inches of drywall—to allow the studs behind it to breathe.
- Subflooring: If you have hardwood or tile, water can get trapped in the plywood underneath. Specialized "floor drying mats" that use suction are often required to save expensive flooring.
Step 5: Sanitization and Mold Pretreatment
Even if you dry the home perfectly, bacteria and microscopic spores may remain, especially if the water came from a "Category 2" (gray water) or "Category 3" (black water/sewage) source.
As part of a comprehensive flood cleanup and structural drying plan, applying an antimicrobial solution is vital. These professional-grade disinfectants kill existing spores and create a barrier that inhibits future growth. This is a crucial step in emergency water mitigation to ensure the air quality remains safe for your family.
Why Professional Monitoring Matters
Drying a home is a science, not a guessing game. Restoration experts use moisture meters and thermal imaging cameras to track the progress of the drying cycle. These tools can "see" through walls to identify cold spots, which usually indicate trapped moisture.
By hiring a specialist for water extraction and repair, you ensure that every hidden pocket of dampness is addressed. If you miss even a small patch of moisture inside a ceiling or crawlspace, you could be facing an expensive mold remediation project six months down the line.
Summary Checklist for Homeowners:
- Act within 24 hours to prevent mold colonization.
- Extract standing water immediately using specialized vacuums.
- Increase evaporation with high-powered fans and air movers.
- Dehumidify the air to prevent secondary damage to furniture and electronics.
- Monitor moisture levels daily until the "dry standard" is reached.
- Digital Agency
- Literie
- Location de voitures
- Restaurant
- Restaurant
- Mode
- Mode
- Information
- Marketing
- Tourisme
- Développement
- Découverte
- Législation
- Gastronomie
- Pâtisserie
- Evento
- Art
- Causes
- Crafts
- Dance
- Drinks
- Film
- Fitness
- Food
- Jogos
- Gardening
- Health
- Início
- Literature
- Music
- Networking
- Outro
- Party
- Religion
- Shopping
- Sports
- Theater
- Wellness
 Portuguese (Brazil)
 Indian
 English
 French
 Arabic
 Spanish
 Portuguese
 Deutsch
 Turkish
 Dutch
Dutch
 Italiano
 Russian
 Romaian
 Greek
Greek