

Let’s be honest, embroidery isn’t just about thread and fabric. The real magic starts way before you hit that “start” button on your machine. Want pro-looking results? You absolutely need expert digitizing. It’s all about taking your design and flipping it into a digital file that screams, “wow.” Miss this step, and things get messy think crooked lines, ruffled fabric, wasted time. Ouch.
Here’s what’s coming your way: I’ll break down how to hunt down the best embroidery digitizing services, what actually makes them “the best,” and how you can dodge rookie mistakes. Clear advice, real examples, and actual stuff you can use. Whether you’re running a busy embroidery business, designing your own merch, or just super picky (same!), I got you.
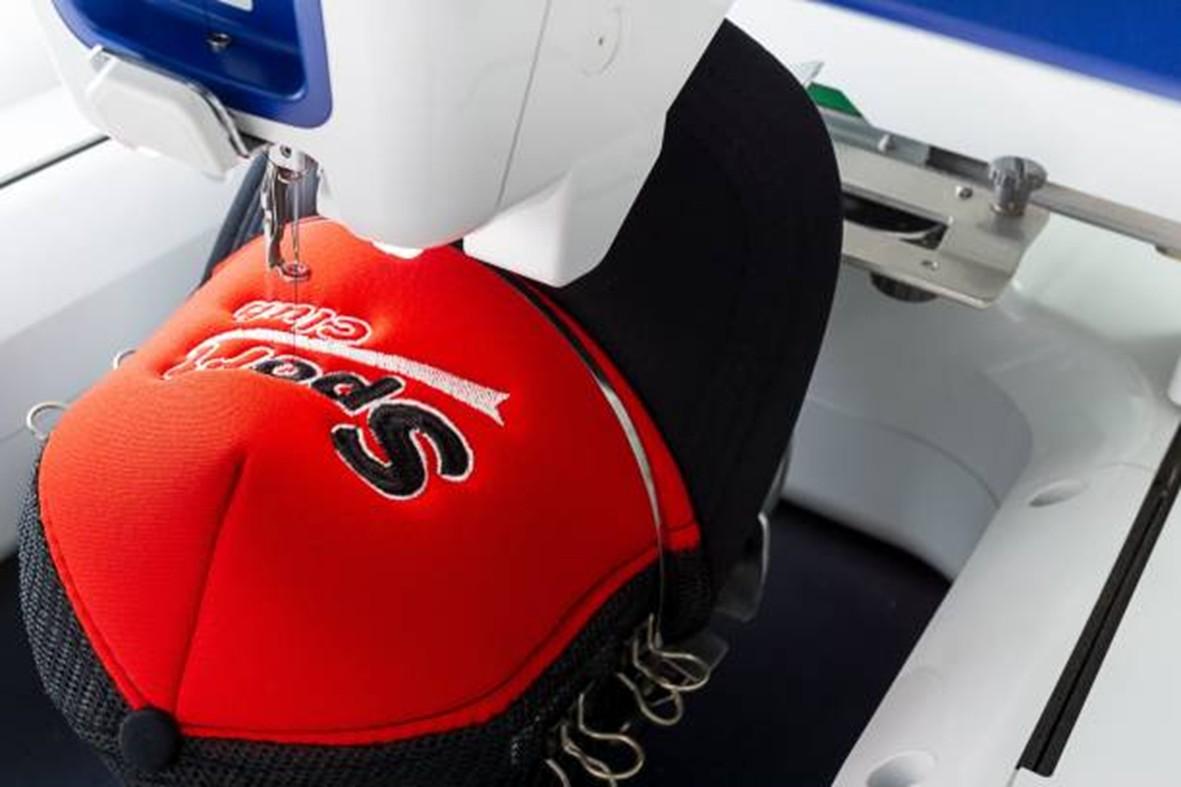
So, What on Earth IS Embroidery Digitizing? Why Bother Caring?
It might sound nerdy, but embroidery digitizing is basically mapping out a journey for your machine to follow. Picture a tiny GPS for needles. A real person—a digitizer—gets in there with fancy software and plans every stitch. This is not some cheap “auto” feature you click in an app. Nope. Every color, direction, and detail counts.
Digitizers have to:
- Pick Stitch Types. Do we want smooth satin? A fill? Maybe both for some drama?
- Choose Stitch Directions. Angling makes the shine pop—or makes your logo look super flat. Up to them.
- Adjust Density. You make it too dense, and it’ll feel like armor. Too loose, and the shirt peeks through.
- Set Underlay. Imagine this like support beams under a house—geta hold things up.
- Account for Push-Pull. Thread tension is wild. It can scrunch up your masterpiece or awkwardly stretch details.
Mess up the digitizing, and it’s all downhill. Threads snap. Fabric scrunches. The design comes out… sad. For us running an embroidery business, that’s cash and customer trust flushed away. Bummer, right? Honestly, starting off with high-quality digitizing saves headaches, keeps clients happy, and means less redoing stuff.
How To Actually Find the Best Embroidery Digitizing Services
Let’s not overthink it, but you shouldn’t just Google and pick the first service that flashes “cheap.” Here’s a super practical system to sift out the winners.
Step One: Get Clear on What You Need
Grab some coffee and think it through. Seriously. What’s your plan with embroidery? Do you make hats, jackets, polos—or all of them? If you mostly do big old back designs, you need a different set of files than if you’re cranking out small logos.
- What products? Hats and towels are NOT the same.
- How tough are your usual designs? Flat name patches are easy. Cartoon portraits? Definitely harder.
- Speed? Sometimes you need things YESTERDAY. Sometimes a day or two is fine.
- Which file types? Not every machine takes the same format. Think about. DST,. PES, JEF, etc.
Step Two: Go On the Hunt
Alright, requirements in hand, let’s search. Look for providers with legit websites. Scroll those reviews. Do they post prices, or is everything hush-hush? Dig for their gallery or portfolio. You’ll learn a lot from actual project photos.
If you’re in the USA or UK, find people who “get” your market. Check Reddit, embroidery Facebook groups, or industry forums. Word of mouth is gold. Ask for recommendations and real experiences. There’s a lot of chatter—sometimes harsh, but always honest.
If they show off their work up front, that’s a win. Seeing lots of stitch styles and different fabrics? Means they know their stuff.
Step Three: Go Deep on Custom Embroidery Digitizing
Nothing compares to custom work. The big automated sites crank out files fast, but they miss the little stuff. Look for companies advertising custom embroidery digitizing—it means they use real humans, not bots, to create your design.
Before you send money, double-check:
- Communication. Is their ordering process easy? Can you email or call with oddball questions?
- Fabric Know-How. Good digitizers always ask about your material. Stitching on towels needs different settings than on t-shirts.
- Fair Revision Policy. Ask if they fix mistakes or adjust files if your machine freaks out. The best providers stand by their work, period.
Step Four: Trust But Verify
Ready to commit? Not yet! Test them first. Send over a complicated logo, or something you stitch a lot. Ask for a sample. Run a test on your real, actual fabric—not a random scrap.
Analyze the sample. Is the small text readable? Are the outlines neat? Any thread breaks? If the sample fails, keep searching. Better safe than wasting an entire apparel order.
Checklist: Is This File Actually Good?
When you get that sample back, check every detail. Here’s a real-world cheat sheet:
- Clean Lines, Sharp Text. Even teeny-tiny fonts should look crisp.
- Stitch Density. It should cover well but not feel like cardboard armor.
- Satin Stitches. Should glide and lie flat—no loops or weird gaps.
- No Puckering. The fabric stays smooth, not wrinkled or tight.
- Perfect Color Registration. Multiple colors line up. No awkward gaps or overlaps.
- Smart Stitch Path. Machine runs smooth, not stopping every three seconds. Minimal thread changes.
Tick every item here? You probably found a keeper!
Pro Tips for Leveling Up Your Embroidery Business
Alright, you digitized your design. Now what? Here’s how to keep things running smooth and future-proof:
- Send Clean, Sharp Artwork. Trust me, “fix it in post” doesn’t work here. Pixelated images come out ugly, period. Vector files rock. High-res JPGs or PNGs can work. Leave the blurry screenshots for memes.
- Be Precise About Materials. Always tell your digitizer what you’re stitching on. A baby bodysuit is worlds apart from a denim jacket. They’ll adjust for you.
- Ask for Proofs. Many of the best embroidery digitizing services send a PDF stitch preview or an embroidered sample photo. Gives you peace of mind before starting the full run.
- Build Relationships. Stick with a handful of good providers. After a while, they’ll “get” your style and quirks, saving you time and edits.
- Never Just Resize Files. Seriously. If you need a smaller or bigger version, ask for a new file. Stretching a design in your machine’s software ruins stitch patterns and spacing. It looks awful!
Wrapping Up: It’s All About Finding the Right Fit
Let’s face it people remember the details. If your embroidery looks pro, your brand stands out. Taking time to pick a top-notch digitizing service is 100% worth the effort.
Test lots of providers. Be picky! Build a relationship. If you want a solid place to start, check out 1dollardigitizing they’re popular for budget-conscious folks but deliver results you’d expect for way more money. In the end, choosing the right partner means fewer surprises, happier customers, and designs that pop every single time.